RealWorld app
In the previous tutorials, we saw how to implement relatively simple applications with Kingly state machines. In this tutorial, we are going to implement Conduit, which describes itself as the mother of all demo apps. That application aims at replacing the app commonly used to compare front-end frameworks. The rationale for the RealWorld app is similar to that of TodoMVC: implementing the same application with different frameworks allows us to make an informed comparison between frameworks. RealWorld takes it up a notch by specifying a full-stack, realistic web application. Eric Simons, cofounder of StackBlitz, and at the origin of the idea, explains:
Reusing the best ideas from TodoMVC […], we took a stab at solving this problem by creating the design & API spec for a real-world social blogging site similar to Medium.com. We named it Conduit.
The Conduit app, as of today (August 2019), has 18 front-end implementations, ranging from popular frameworks (Elm, Vue, React, Angular, Aurelia) to minimalistic frameworks (AppRun, Hyperapp, Crizmas MVC), and including compile-to-JavaScript frameworks (Svelte, Stencil, Purescript, ClojureScript). The Conduit app is additionally used as a base for benchmarking front-end frameworks.
The Kingly architecture allows us to pick our UI framework as we please. In this tutorial, we will do a step-by-step implementation of Conduit with Svelte. We will also provide implementations in other frameworks (React and Vue), this time without detailing much the steps taken. Because we will be using only the basic syntax of Svelte, which is akin to HTML, you should not need to know much about Svelte to understand the UI implementation.
Svelte primer
We thus quickly give the reader some Svelte basics to better understand the code. Svelte is a compiler that takes .svelte files and turns them into standard JavaScript. A .svelte file consists of three optional parts:
<script>
// imports, props, local variables definitions, and code to execute
// once, every time the component is mounted
// For instance
import Nested from './Nested.svelte';

</script>

<style>
	p {
		color: purple;
		font-family: 'Comic Sans MS';
		font-size: 2em;
	}
</style>

// html-like Svelte code describing markup logic
// For instance
<p>This is a paragraph.</p>
<Nested/>
If you know Vue.js, this is very similar to Vue’s single-file components.
The Svelte-compiled component(s) can thus be used in an application. For instance, the following code:
import App from "./App.svelte";

const app = new App({
  target: document.body,
  props: {
    name: "world"
  }
});

export default app;
compiles App.svelte to a standard JavaScript class which is then instantiated with a set of properties and a DOM anchor element (here document.body). Instantiating the class leads to the display of the component at the configured location in the DOM.
For more details about Svelte syntax, the Svelte tutorials are remarkably well done. As mentioned, we will only us Svelte basic syntax, so only 5/18 sections are relevant to fully understand the code for our Conduit clone!
Specifications
Conduit’s API specs are organized around end points prefixed by https://conduit.productionready.io/api. For instance https://conduit.productionready.io/api/articles corresponds to GET /api/articles and will return the most recent articles globally by default.
There is no written UI specs for Conduit. However, a reference implementation is provided, from which we can derive the following routes:
| Route | State | Main screen |
|---|---|---|
#/ |
Not authenticated, page 1 | 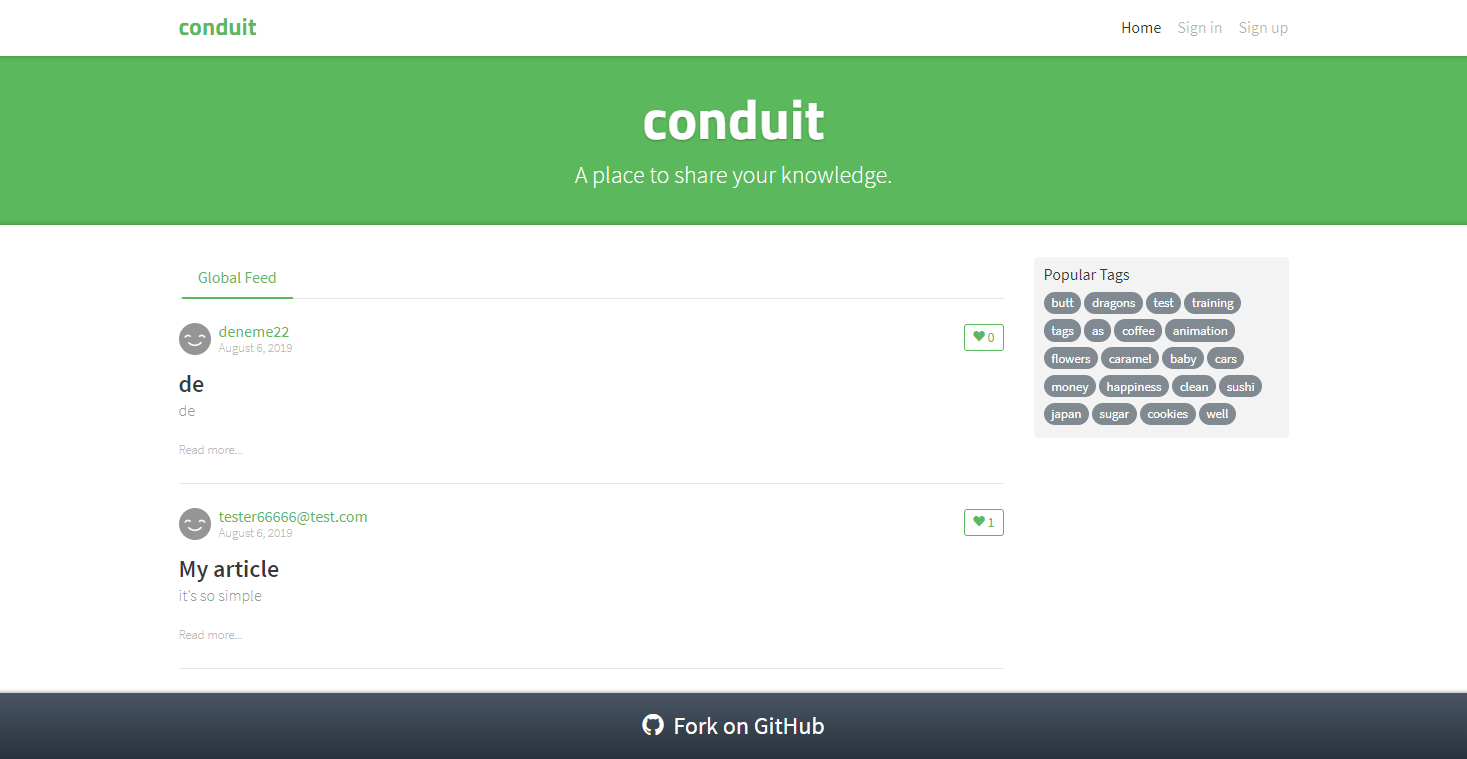 |
#/ |
Not authenticated, page 47 | 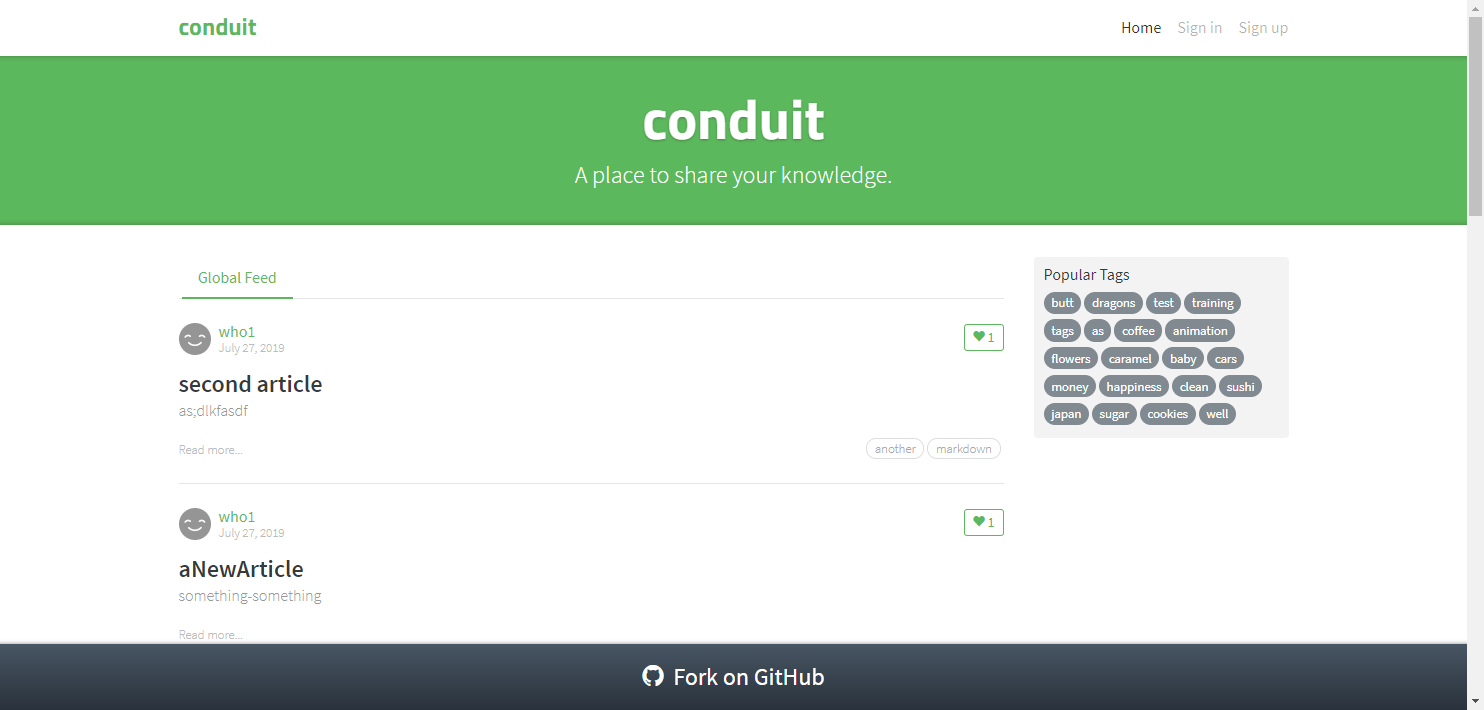 |
#/ |
Not authenticated, filtered by tag | 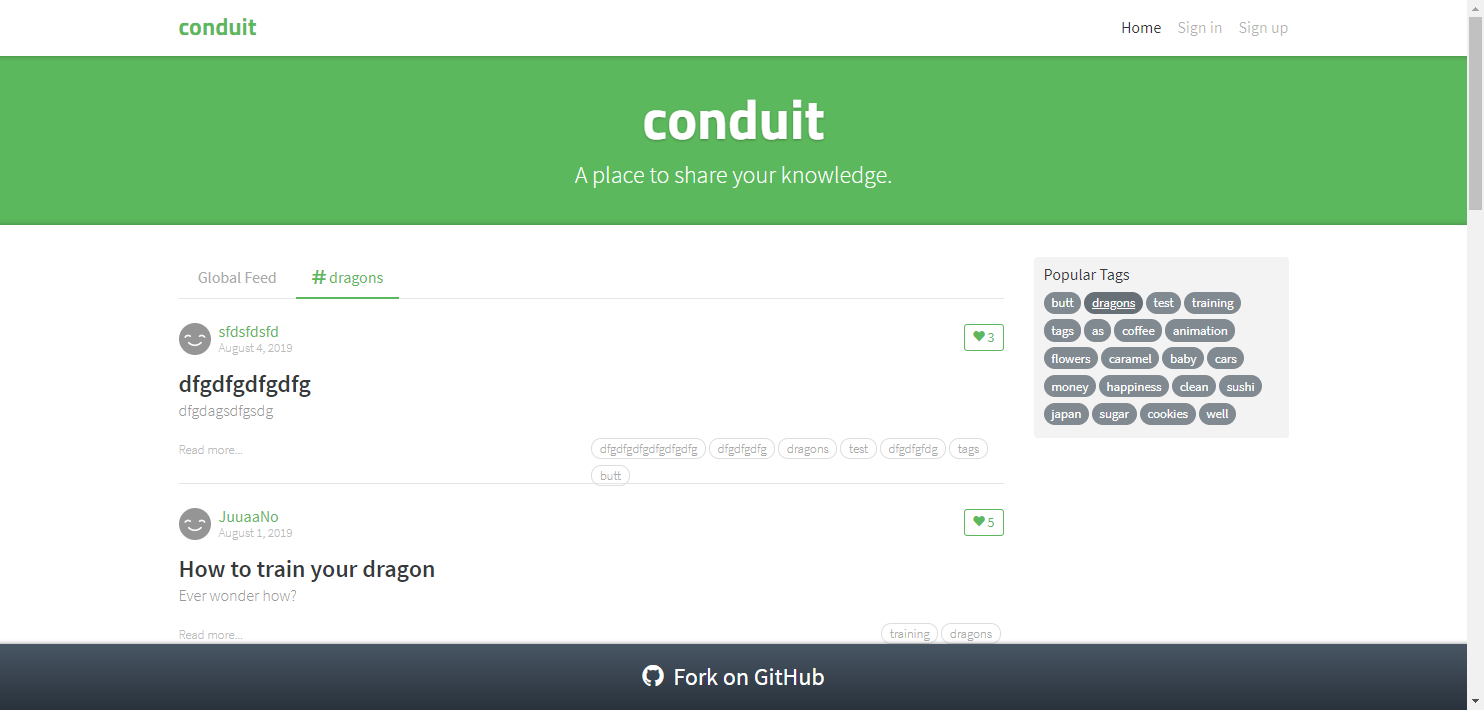 |
#/ |
Authenticated, home, page 1 |  |
#/ |
Authenticated, global feed, page 1 | 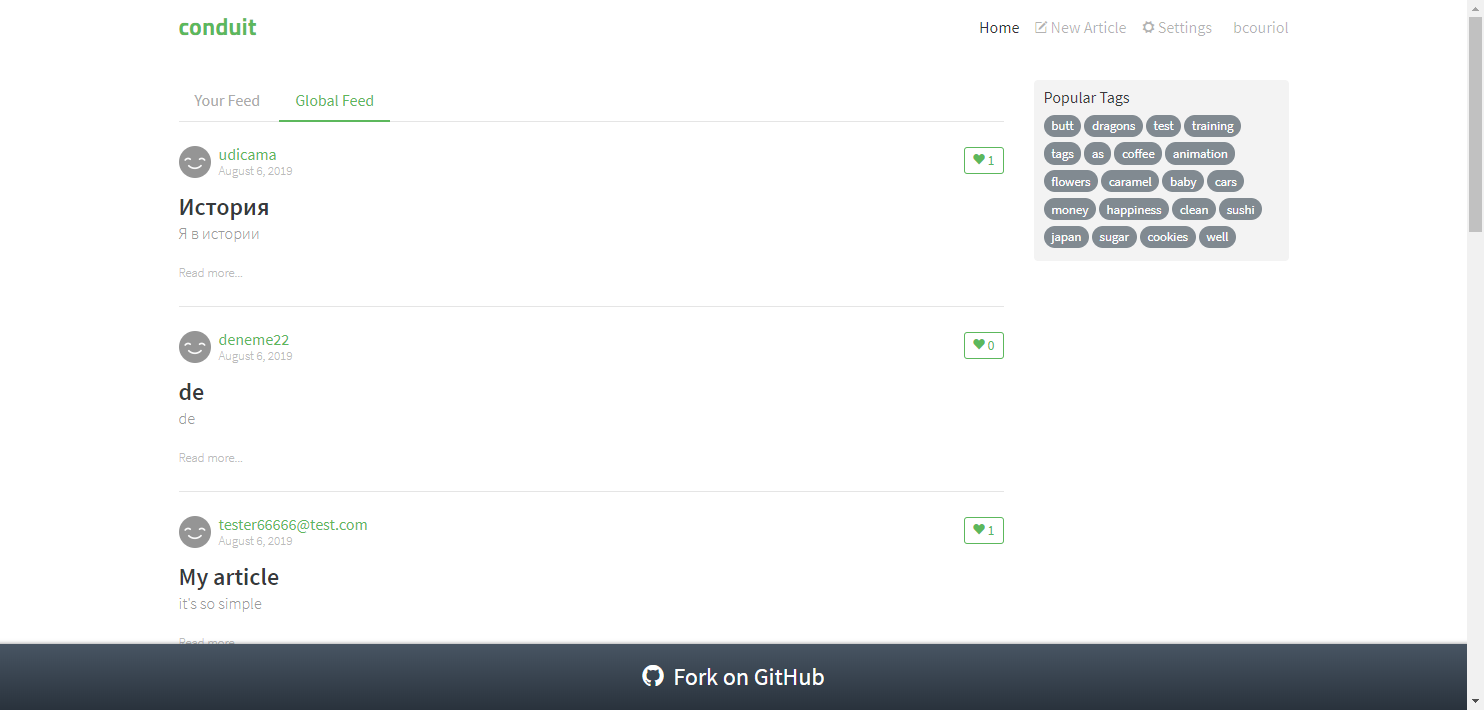 |
#/ |
Authenticated, filtered, page 1 | 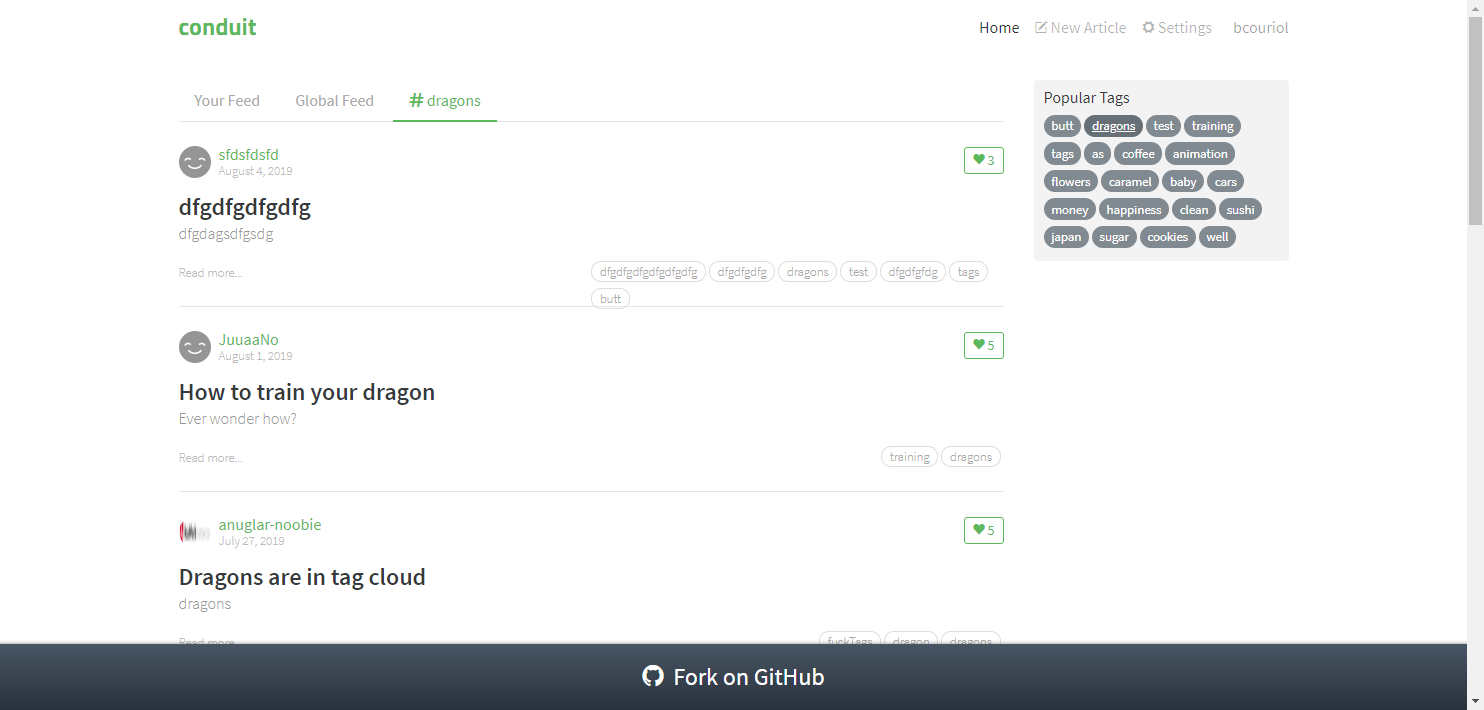 |
#/settings |
Authenticated, settings | 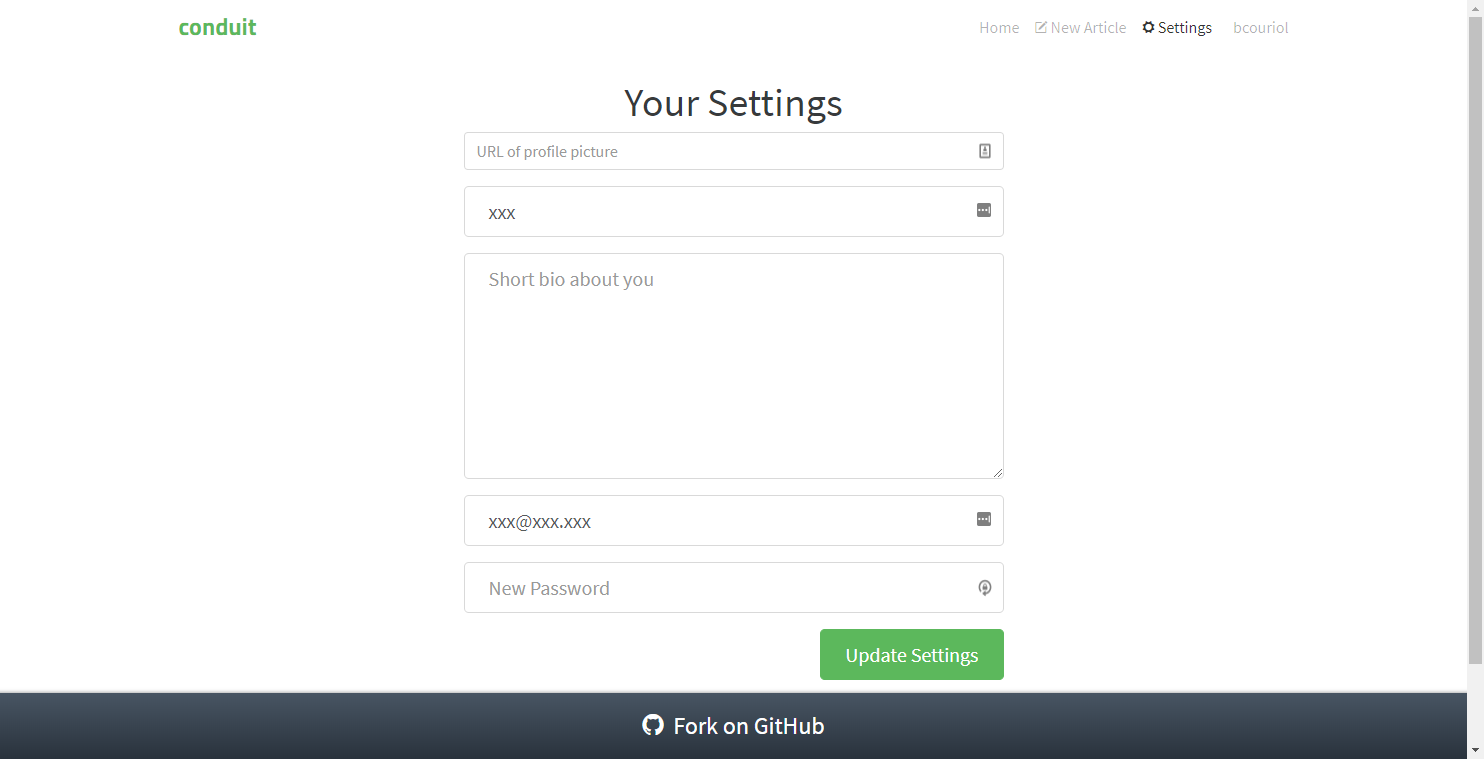 |
#/settings |
Authenticated, settings | 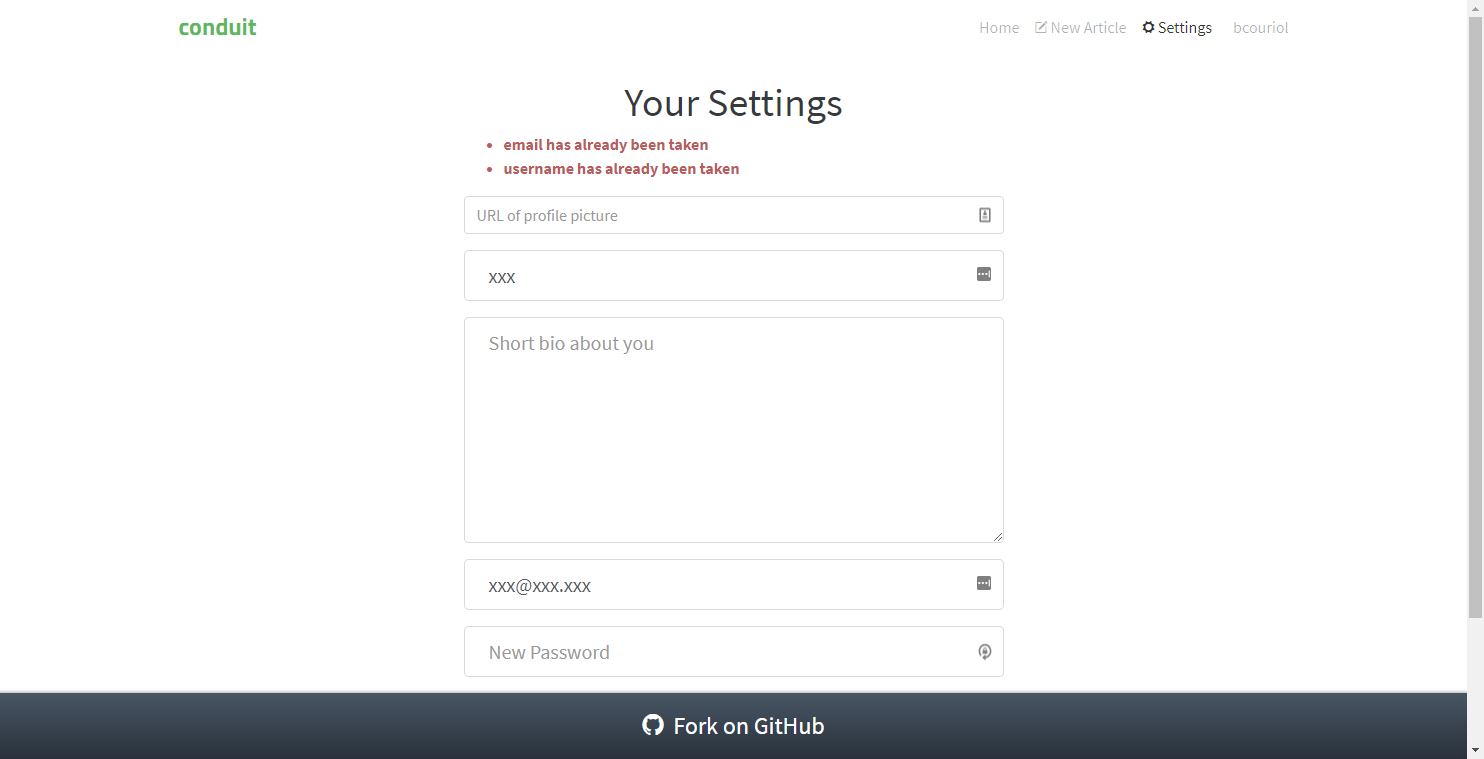 |
#/@me |
Authenticated, own profile settings, My article tab | 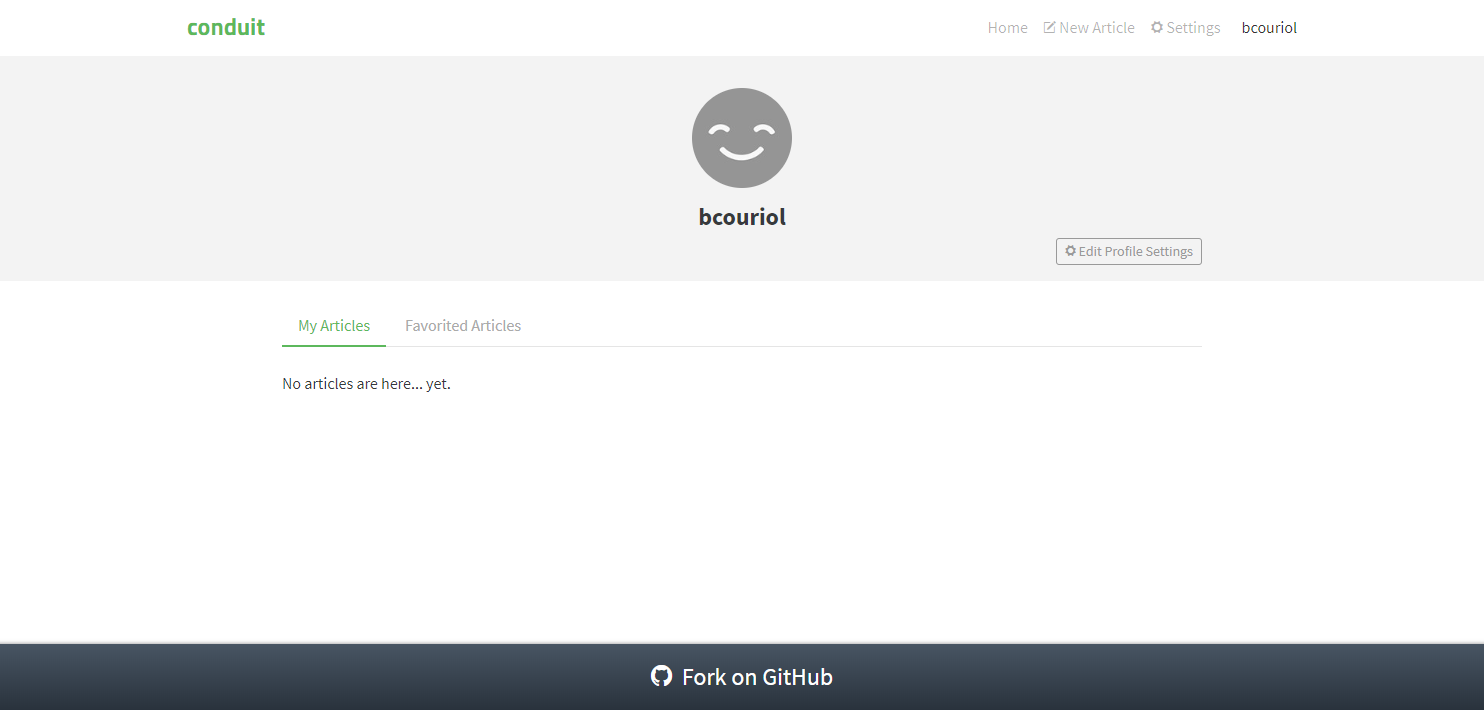 |
#/@me |
Authenticated, own profile settings, Favorites tab | 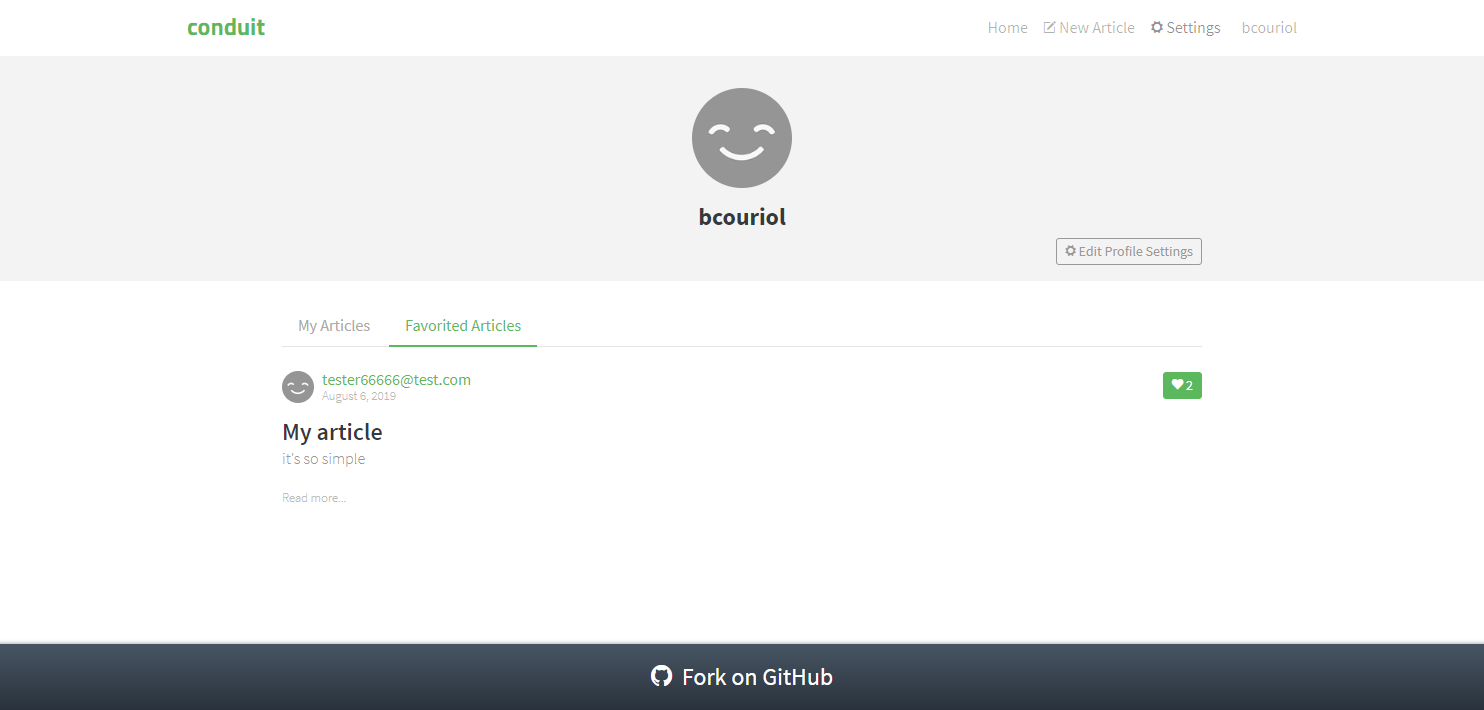 |
#/article/hi-there-fosy10 |
Not authenticated, article chosen | 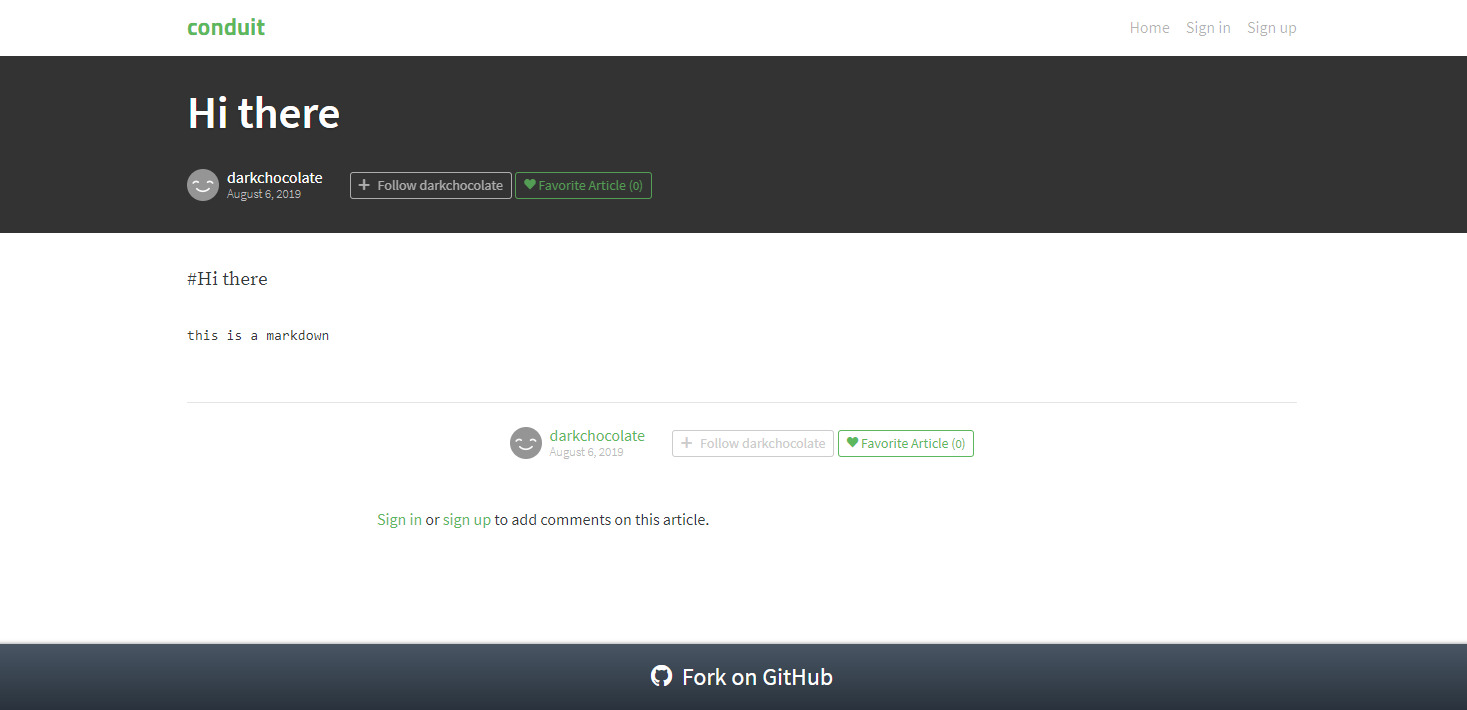 |
#/article/my-article-lzrbg0 |
Authenticated, article chosen | 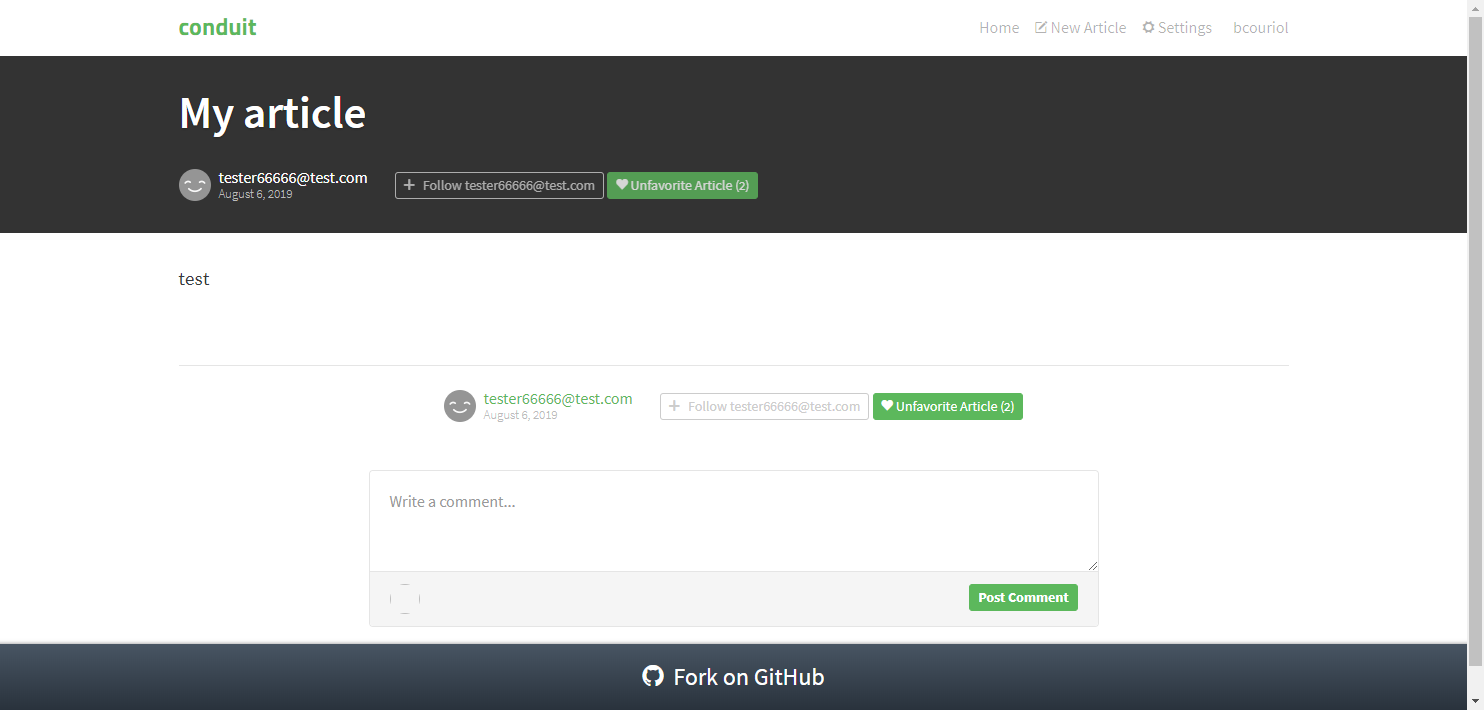 |
#/article/my-article-lzrbg0 |
Authenticated, comment posted | 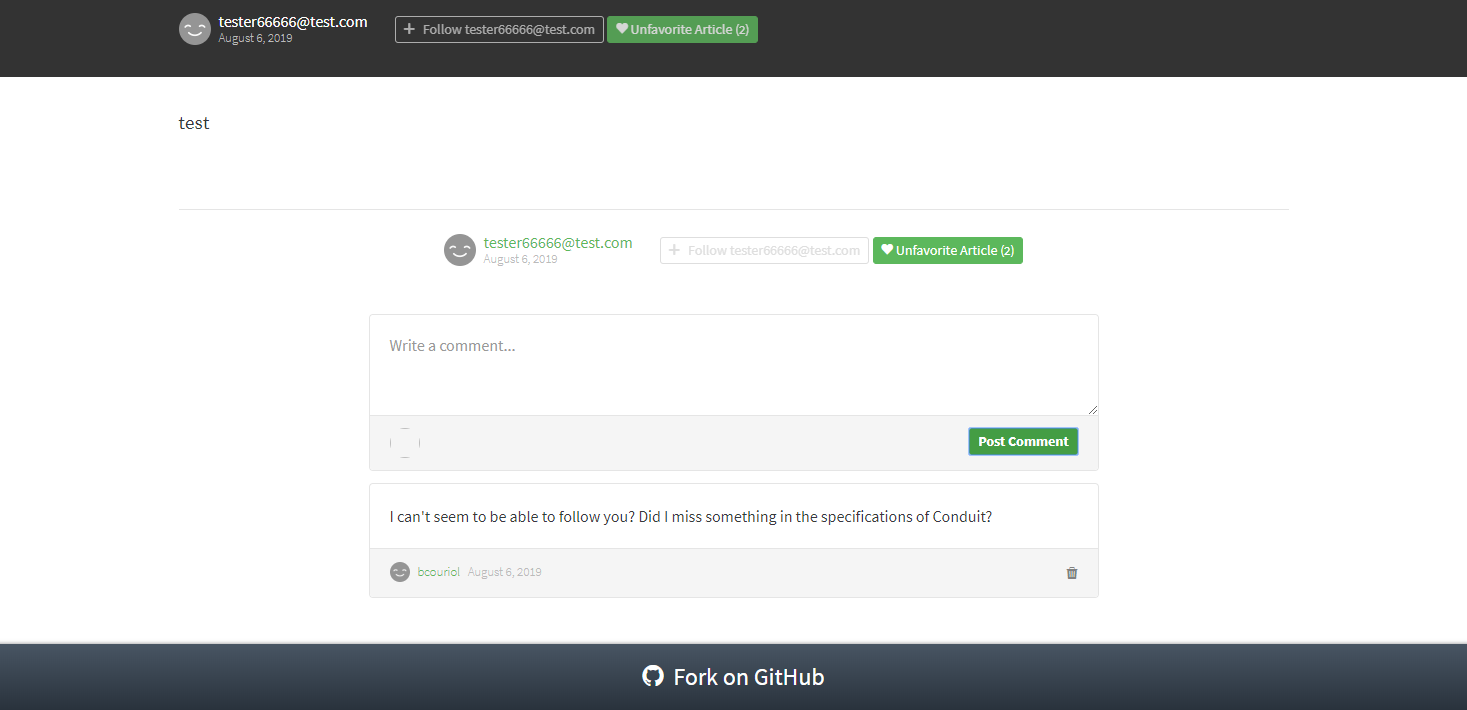 |
#/editor |
Authenticated, new article | 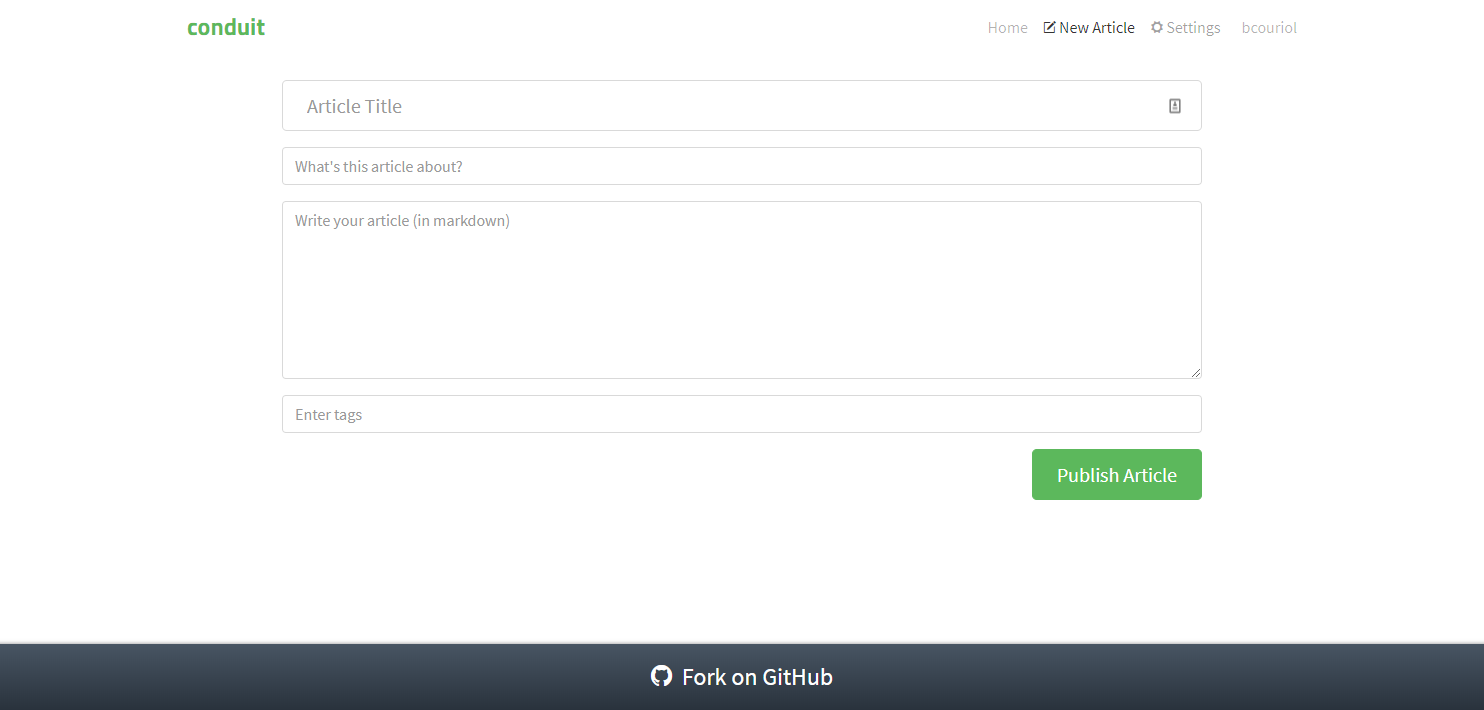 |
#/article/<title>-x4fafc |
Authenticated, published article | 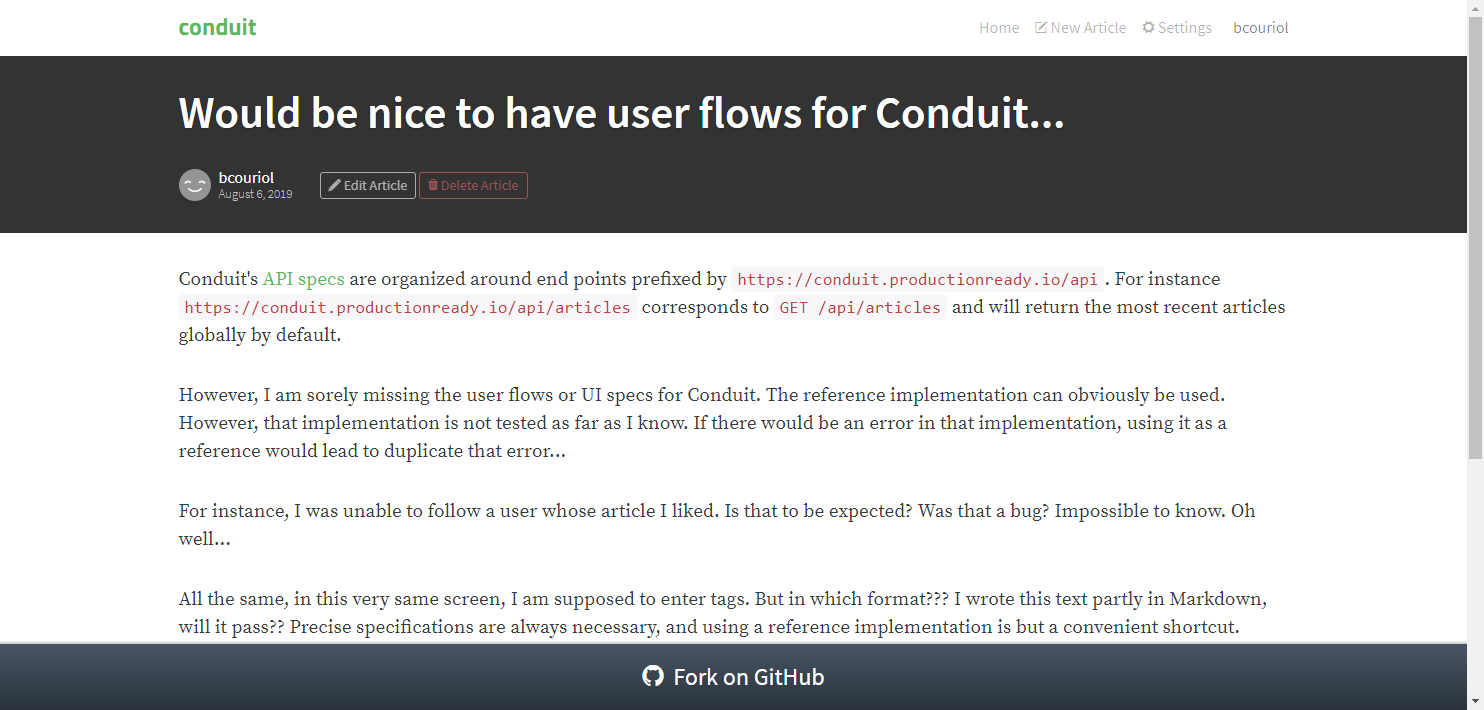 |
#/editor/<title>-x4fafc |
Authenticated, edit article | 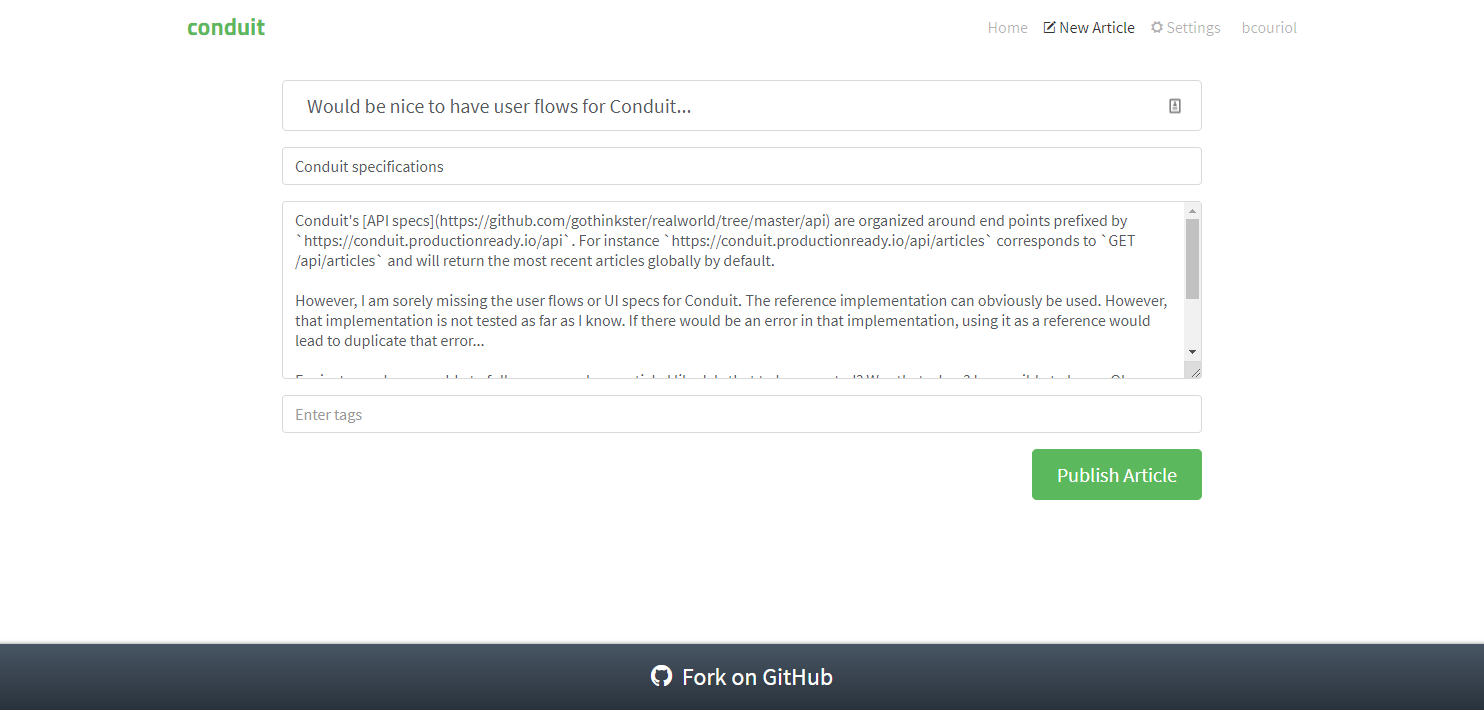 |
#/@deneme22 |
another user profile settings, My article tab | 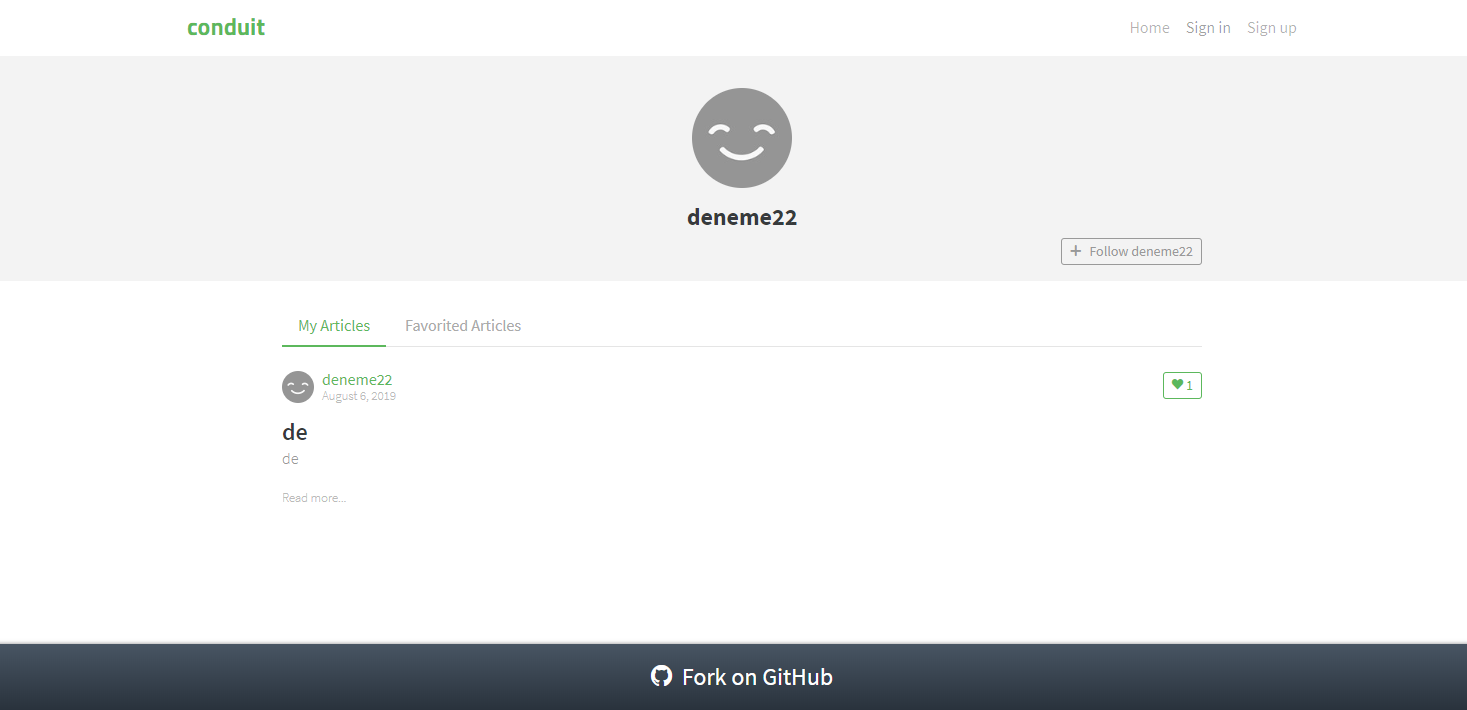 |
#/@deneme22/favorites |
another user profile settings, Favorites tab | 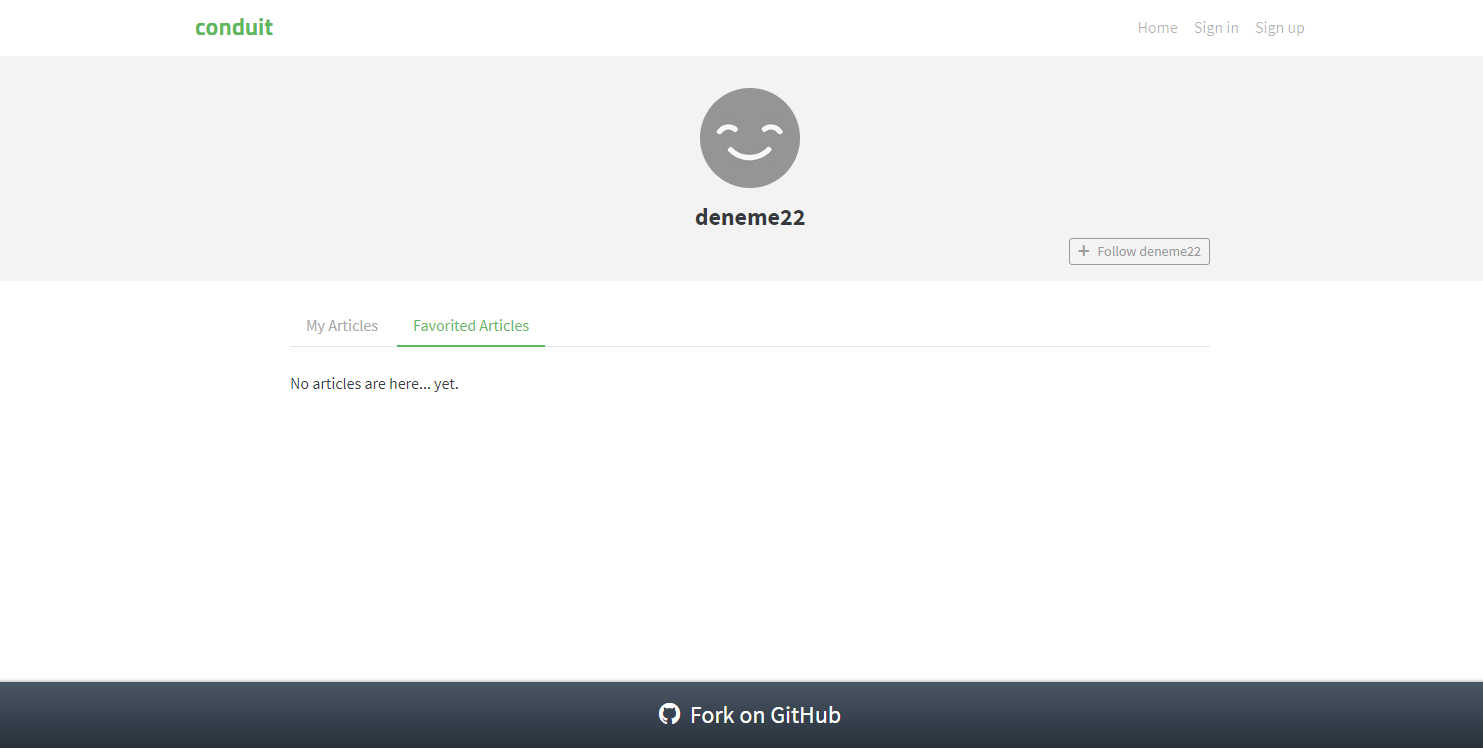 |
#/register |
Authentication required | 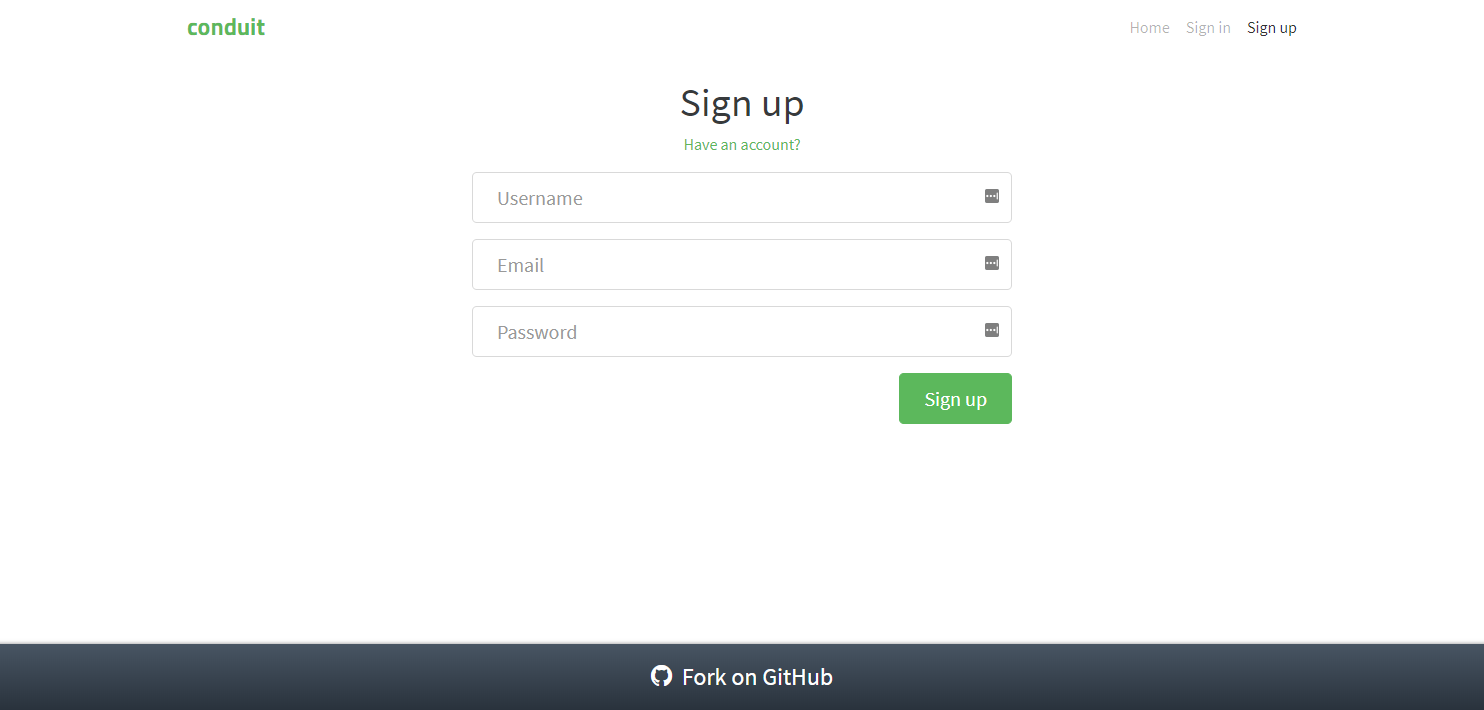 |
#/register |
Sign up clicked | |
#/register |
Sign up failed | 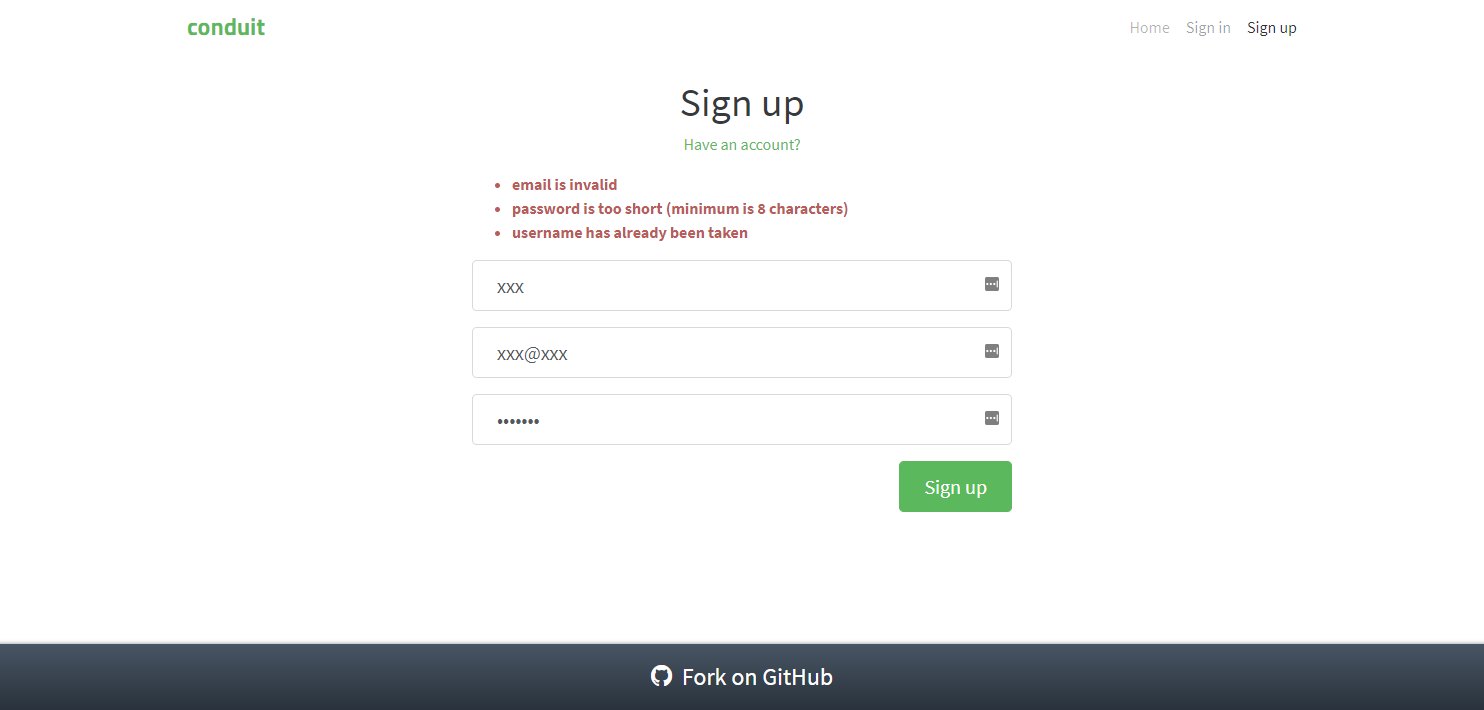 |
#/login |
Sign in clicked | 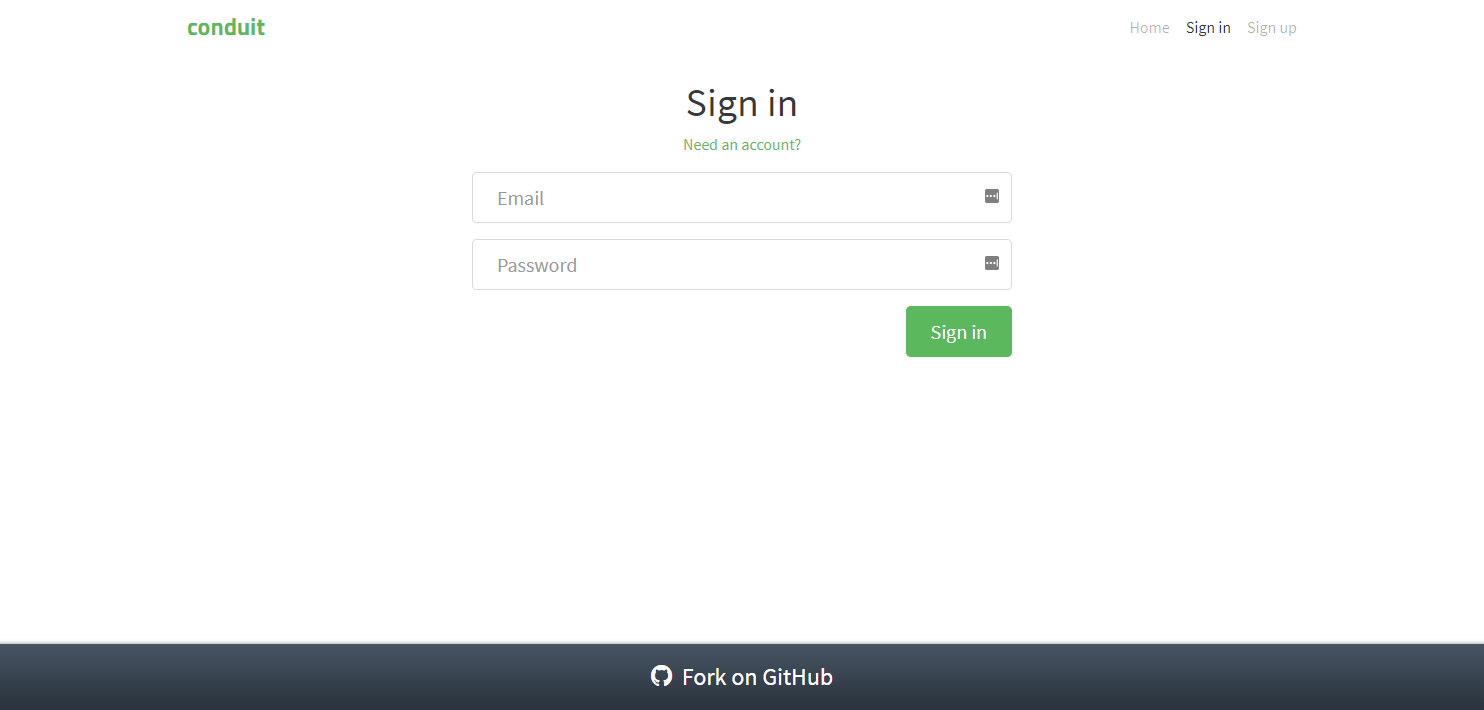 |
Note that it is unclear if the reference implementation is exempt of bugs. It is however the reference implementation, and we will seek to replicate its behavior unless we have a good reason not to.
Authentication is required to:
- follow a user
- like an article
- post a comment
- publish an article
- and obviously to modify one’s settings and profile
The Sign in and Sign up screens will display validation information in case of errors while attempting to log in or sign up. Markdown can be used in published articles, but not in posted comments.
Other general front-end specs can be found here.
Specifications analysis
While not an overly complex application, Conduit has enough features and a complex enough control flow to be challenging to implement. As the former section exemplifies, the same route can correspond to different states of the application and may result in different screens being displayed and different control flow being applied.
Good, that is exactly what state machines are good at modelizing.
The application is complex enough to warrant thinking ahead about architecture before entering the implementation phase.
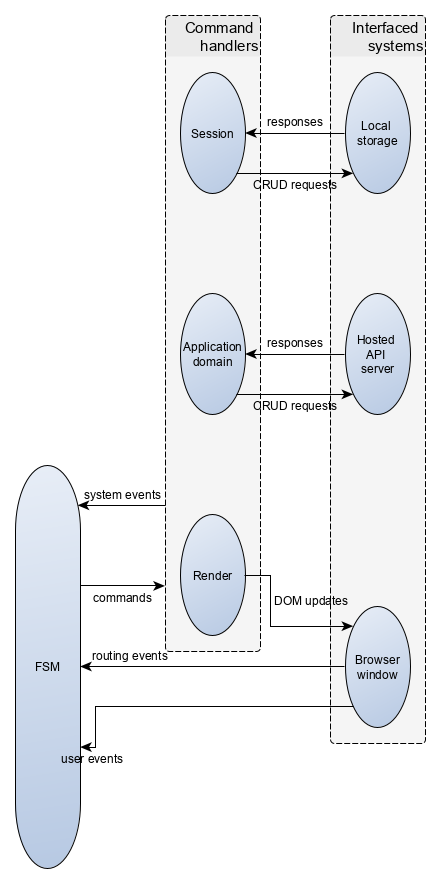
Architecture
We have two obvious interfaced systems: the browser DOM and the API server with a series of endpoints. We have to handle authentication, so we will add a third interfaced systems (local storage) to keep track of a user session. Authentication state does not belong to application state as its life span is greater than that of the application state.
The whole application will be handled with a single state machine. The Kingly architecture will be used, separating commands from command execution. API commands will be gathered in a domain module with all the allowed domain operations (typically CRUD operations on domain objects — articles, comments, etc.).
This leads us to the following architecture:
Cross-cutting concerns
Routing and authentication will be omnipresent parts of the application. It is thus convenient to think ahead of how to integrate those.
Routing in Conduit is driven by the hashtag. As such, there is no reload when updating the route. Instead, the browser emits a hashchange event. If the user loads or reloads a page, the route is available in the location property of the global window object. Lastly, we also have to deal with the Back and Forward buttons. To that effect, we can use the popstate event. In summary:
| User action | Event |
|---|---|
| load/reload | none, route available in window.location |
| link clicked leading to route change | hashchange |
| browser’s back button clicked | popstate |
| browser’s forward button clicked | popstate |
By subscribing to the aforementioned events, and forwarding them to the Kingly machine, we can handle hash-routing without the need of an external library.
Authentication consists of login and registration (sign up). The Conduit API specs provide a login endpoint and a registration endpoint which we will use for that purpose. The returned user data will be stored locally on the user browser (using the LocalStorage browser API). This means a successful log-in API call must result in an update of local storage. Similarly, a successful log out must update accordingly LocalStorage. With this set, identifying whether a user is authenticated becomes a matter of reading the user log-in data in the local storage.
Implementation strategy
This being a reasonably complex application, we are going to follow an iterative implementation process. At each implementation step, we will seek to implement a larger portion of the specification.
In each step, we will follow the same process:
- select the user flows we want to implement (generally will be those associated with a given route)
- get a refined understanding of the interface behavior associated with the selected user flows
- define the user interface’s interface (i.e. props interface, and dispatched events)
- implement and test the user interface
- define the command module interface (i.e. which commands are triggered by the user, the shape of those commands, and which events they produce as a result of their execution)
- implement and test the command module
- modelize the interface behavior with a graph editor (I recommend yed)
- write some tests (with at least all-transitions coverage of the modelized machine)
- write the definition of the machine (i.e. initial state, events, transitions, guards, action factories) and pass the previous tests
- pass a few end-to-end tests (all-states coverage may suffice if high confidence derived from unit tests)
For the sake of this demo app, the command module will not be tested separately but indirectly as part of the end-to-end tests. End-to-end tests will be performed manually.
In each step, we will seek to implement a route. We start with the Home route.